This doc assumes you're storing your pages/styles/etc. in a directory called src, and you have the baseUrl option set to src in your tsconfig.json for importing modules from the root.
Interacting with Custom Post Types
Querying data in custom post types is just as easy as querying for posts or pages in Faust.js.
Before we start, if you haven't already, setup your WordPress site for headless.
Create a Custom Post Type
We'll be using the Atlas Content Modeler plugin to create custom post types for this guide, but you can choose to create custom post types in any way you'd like.
Atlas Content Modeler is a WordPress plugin to create custom post types and fields for headless WordPress sites. Start by downloading the plugin and activating it on your WordPress site (Download).
Now, navigate to WP Admin -> Content Modeler.
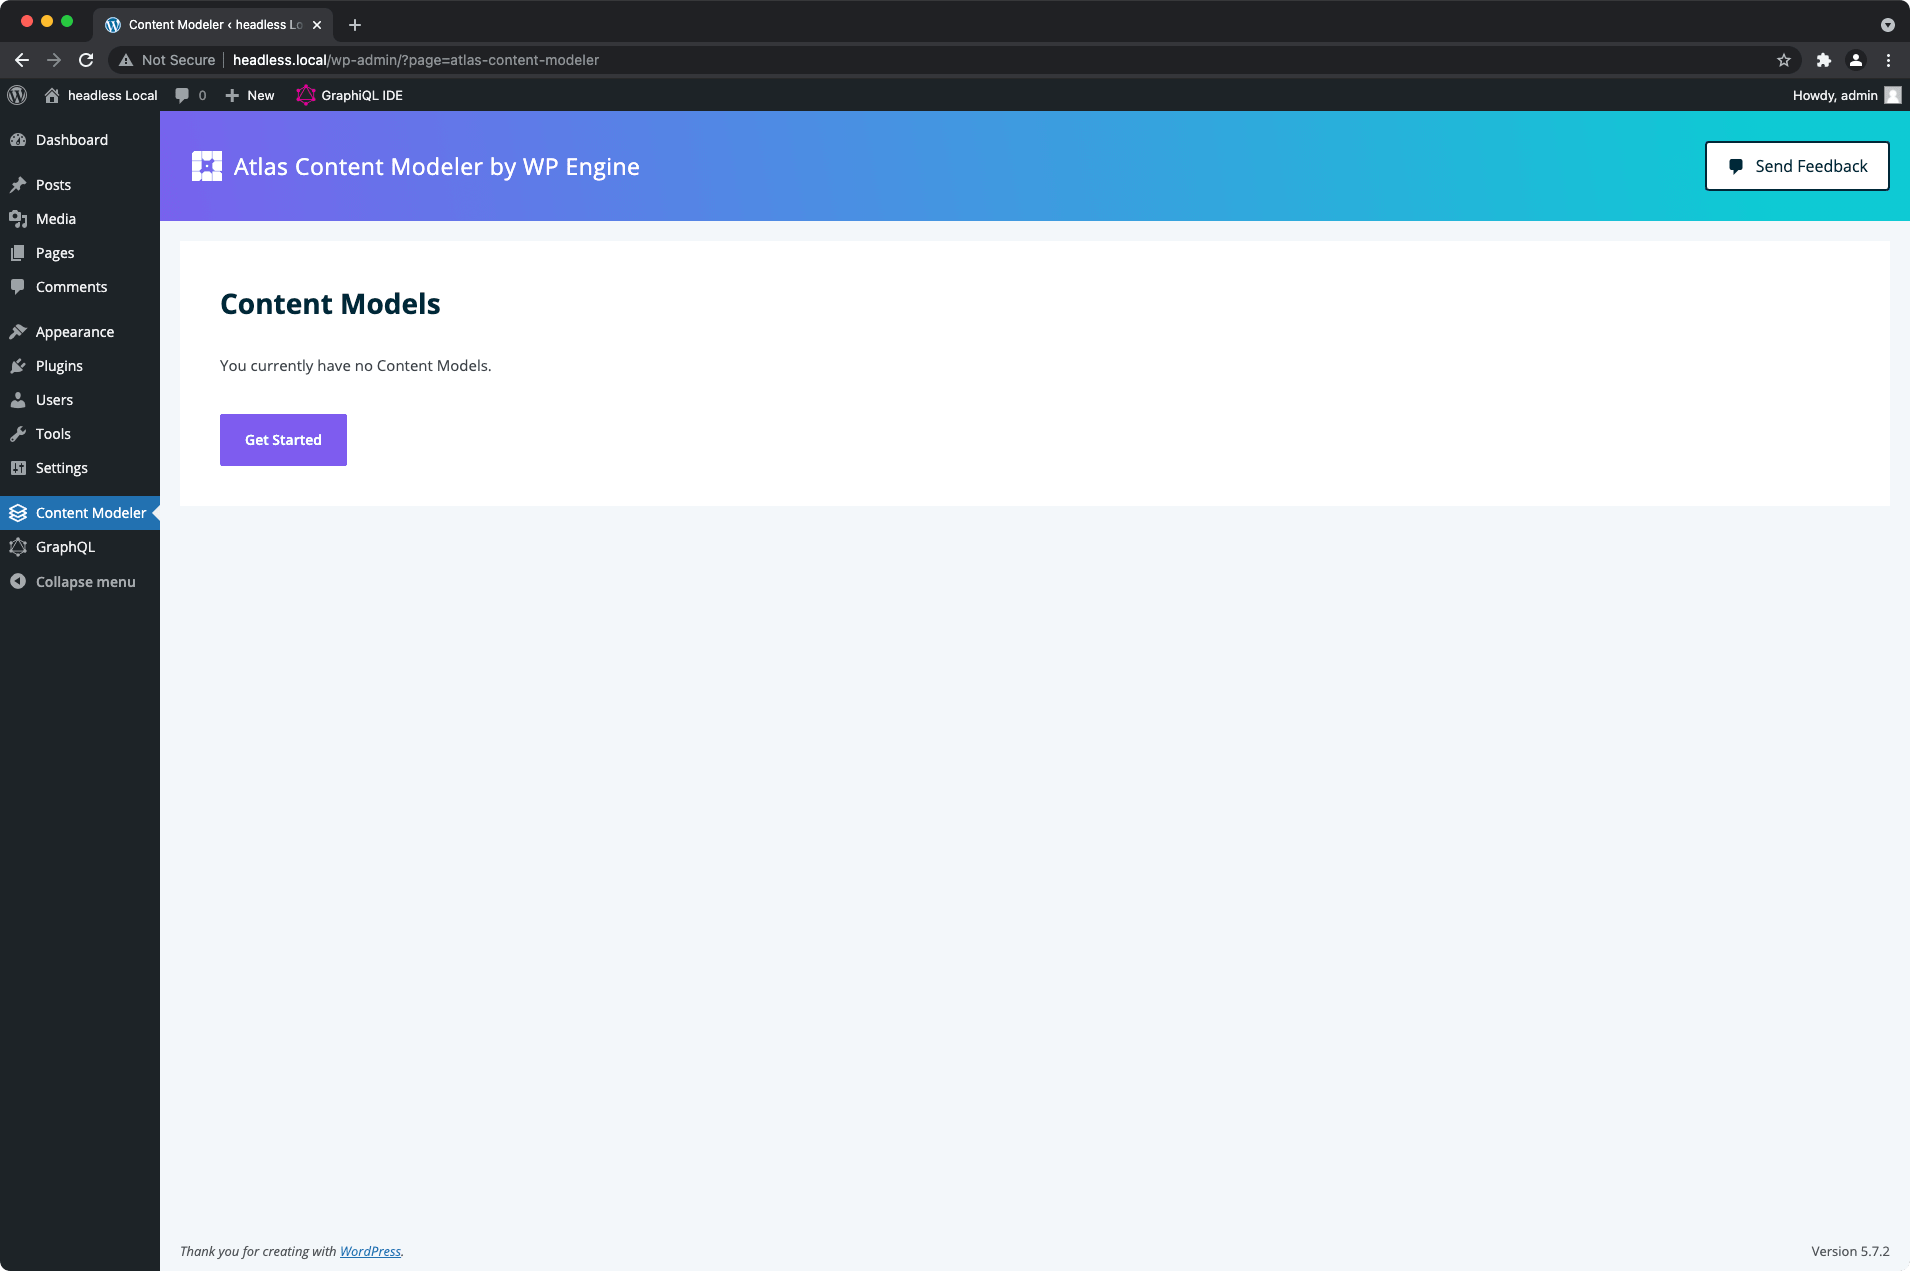
Let's create a custom post type for team members. Click the "Get Started" button, and fill out the fields to create a new Content Model. Be sure to mark "API Visibility" to "Public" so we can query the data.
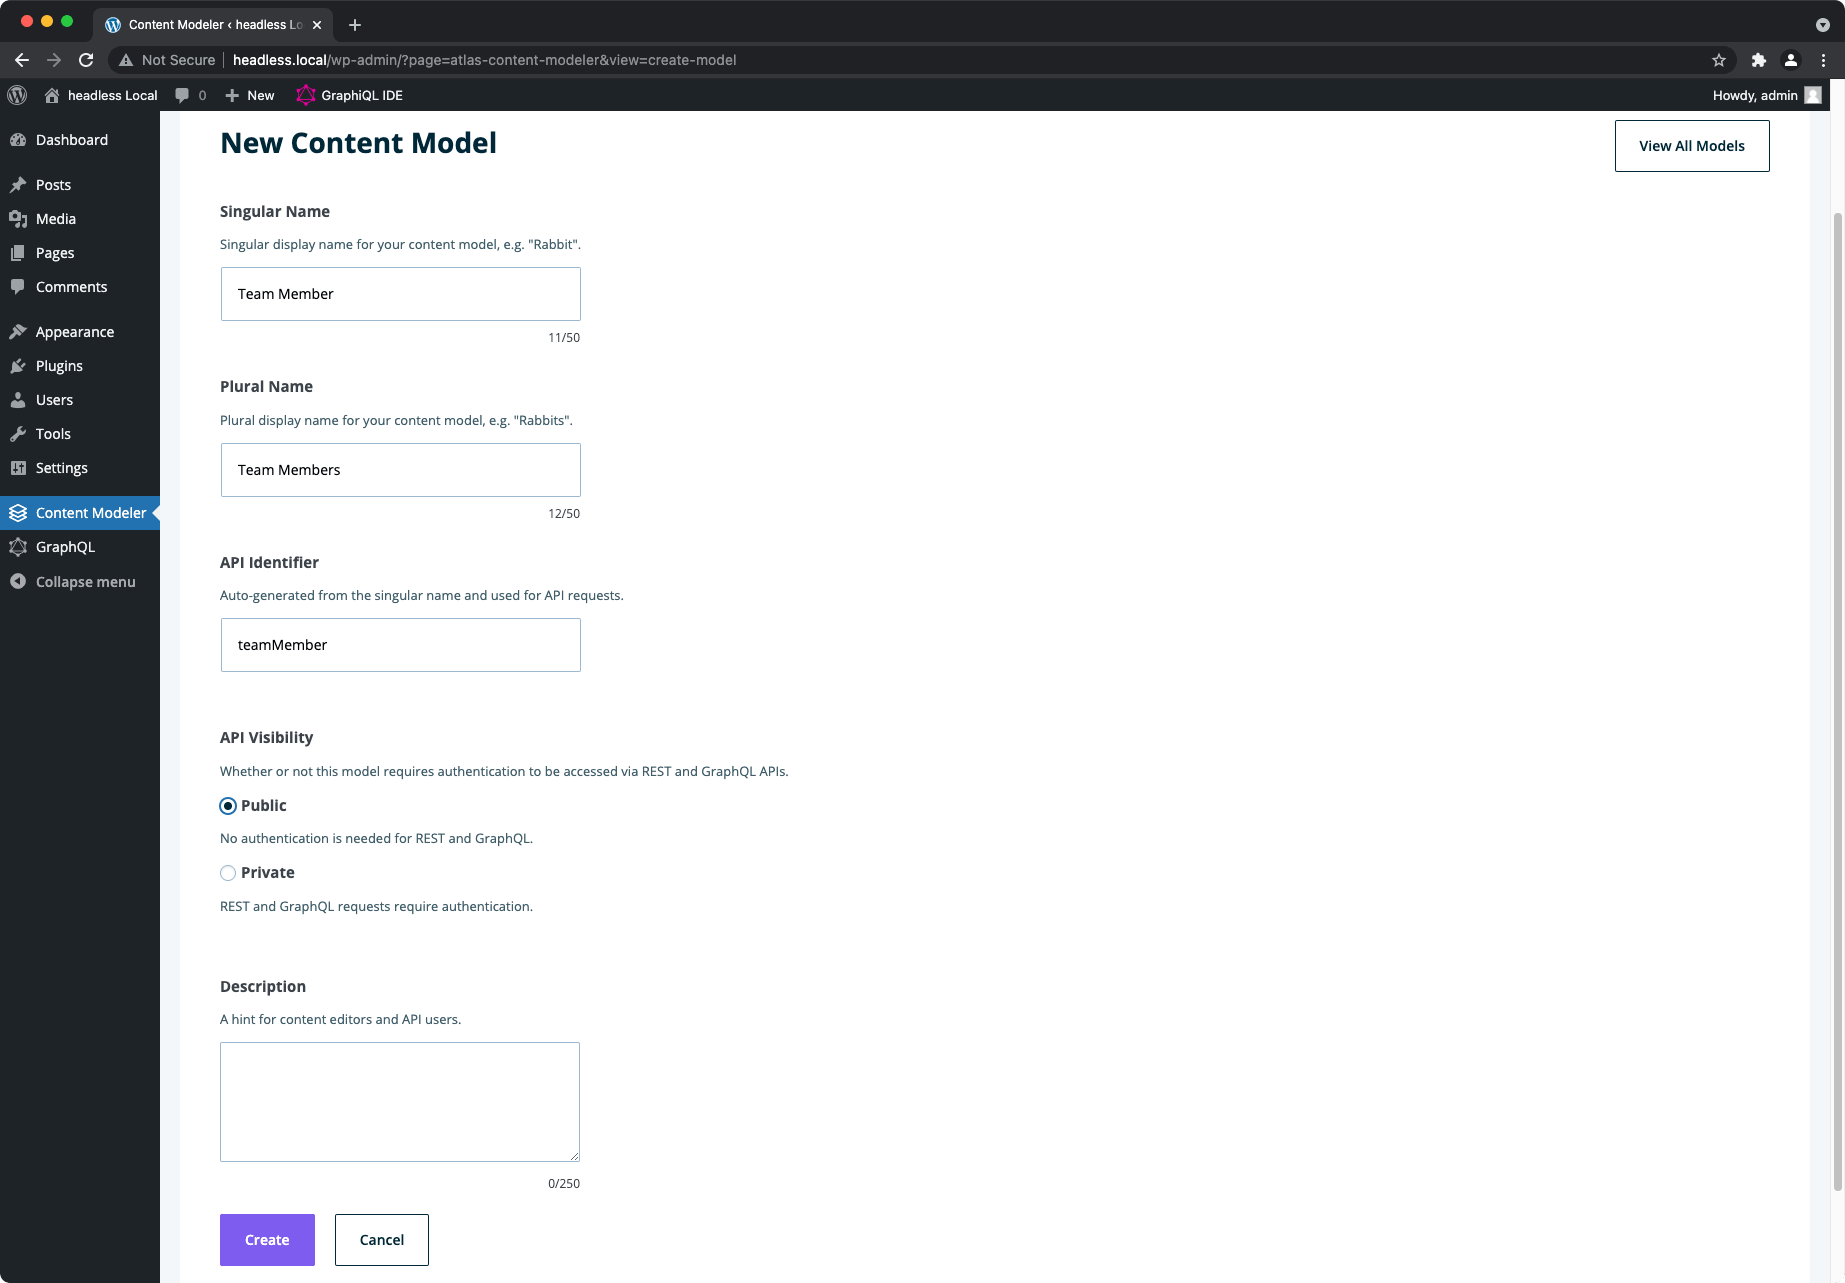
Create Fields for the Custom Post Type
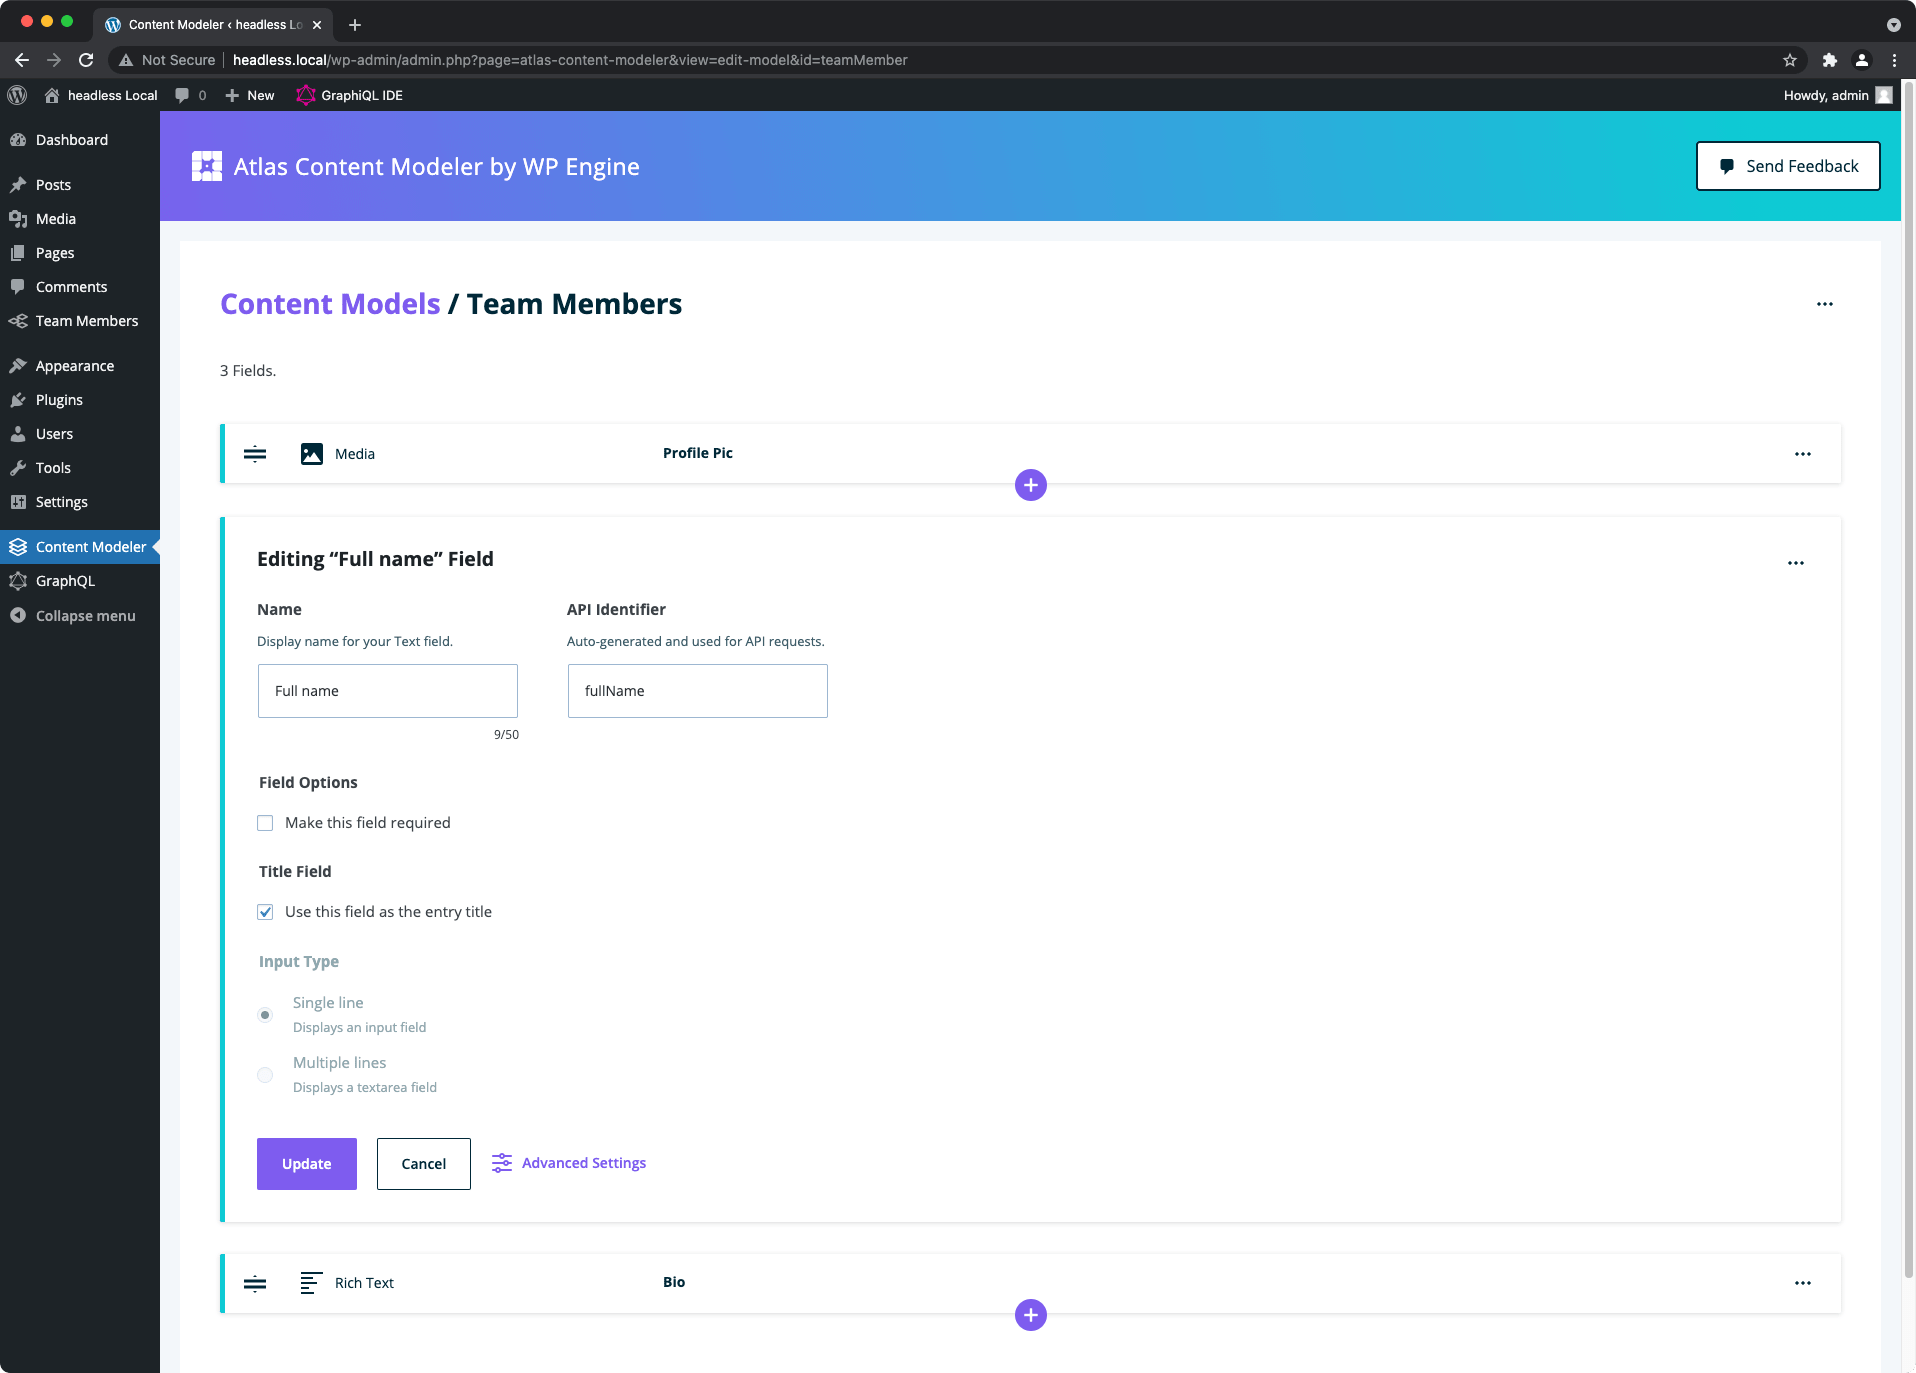
Now that we've created the custom post type let's add some fields to it. From WP-Admin -> Content Modeler, select the Team Members custom post type.
We'll add three fields:
- A Media field type. The name will be "Profile Pic" and the API identifier "profilePic".
- A Text field type. The name will be "Full Name" and the API identifier "fullName". We'll also select "Use this field as the entry title".
- A Rich Text field type. The name will be "Bio" and the API identifier "bio".
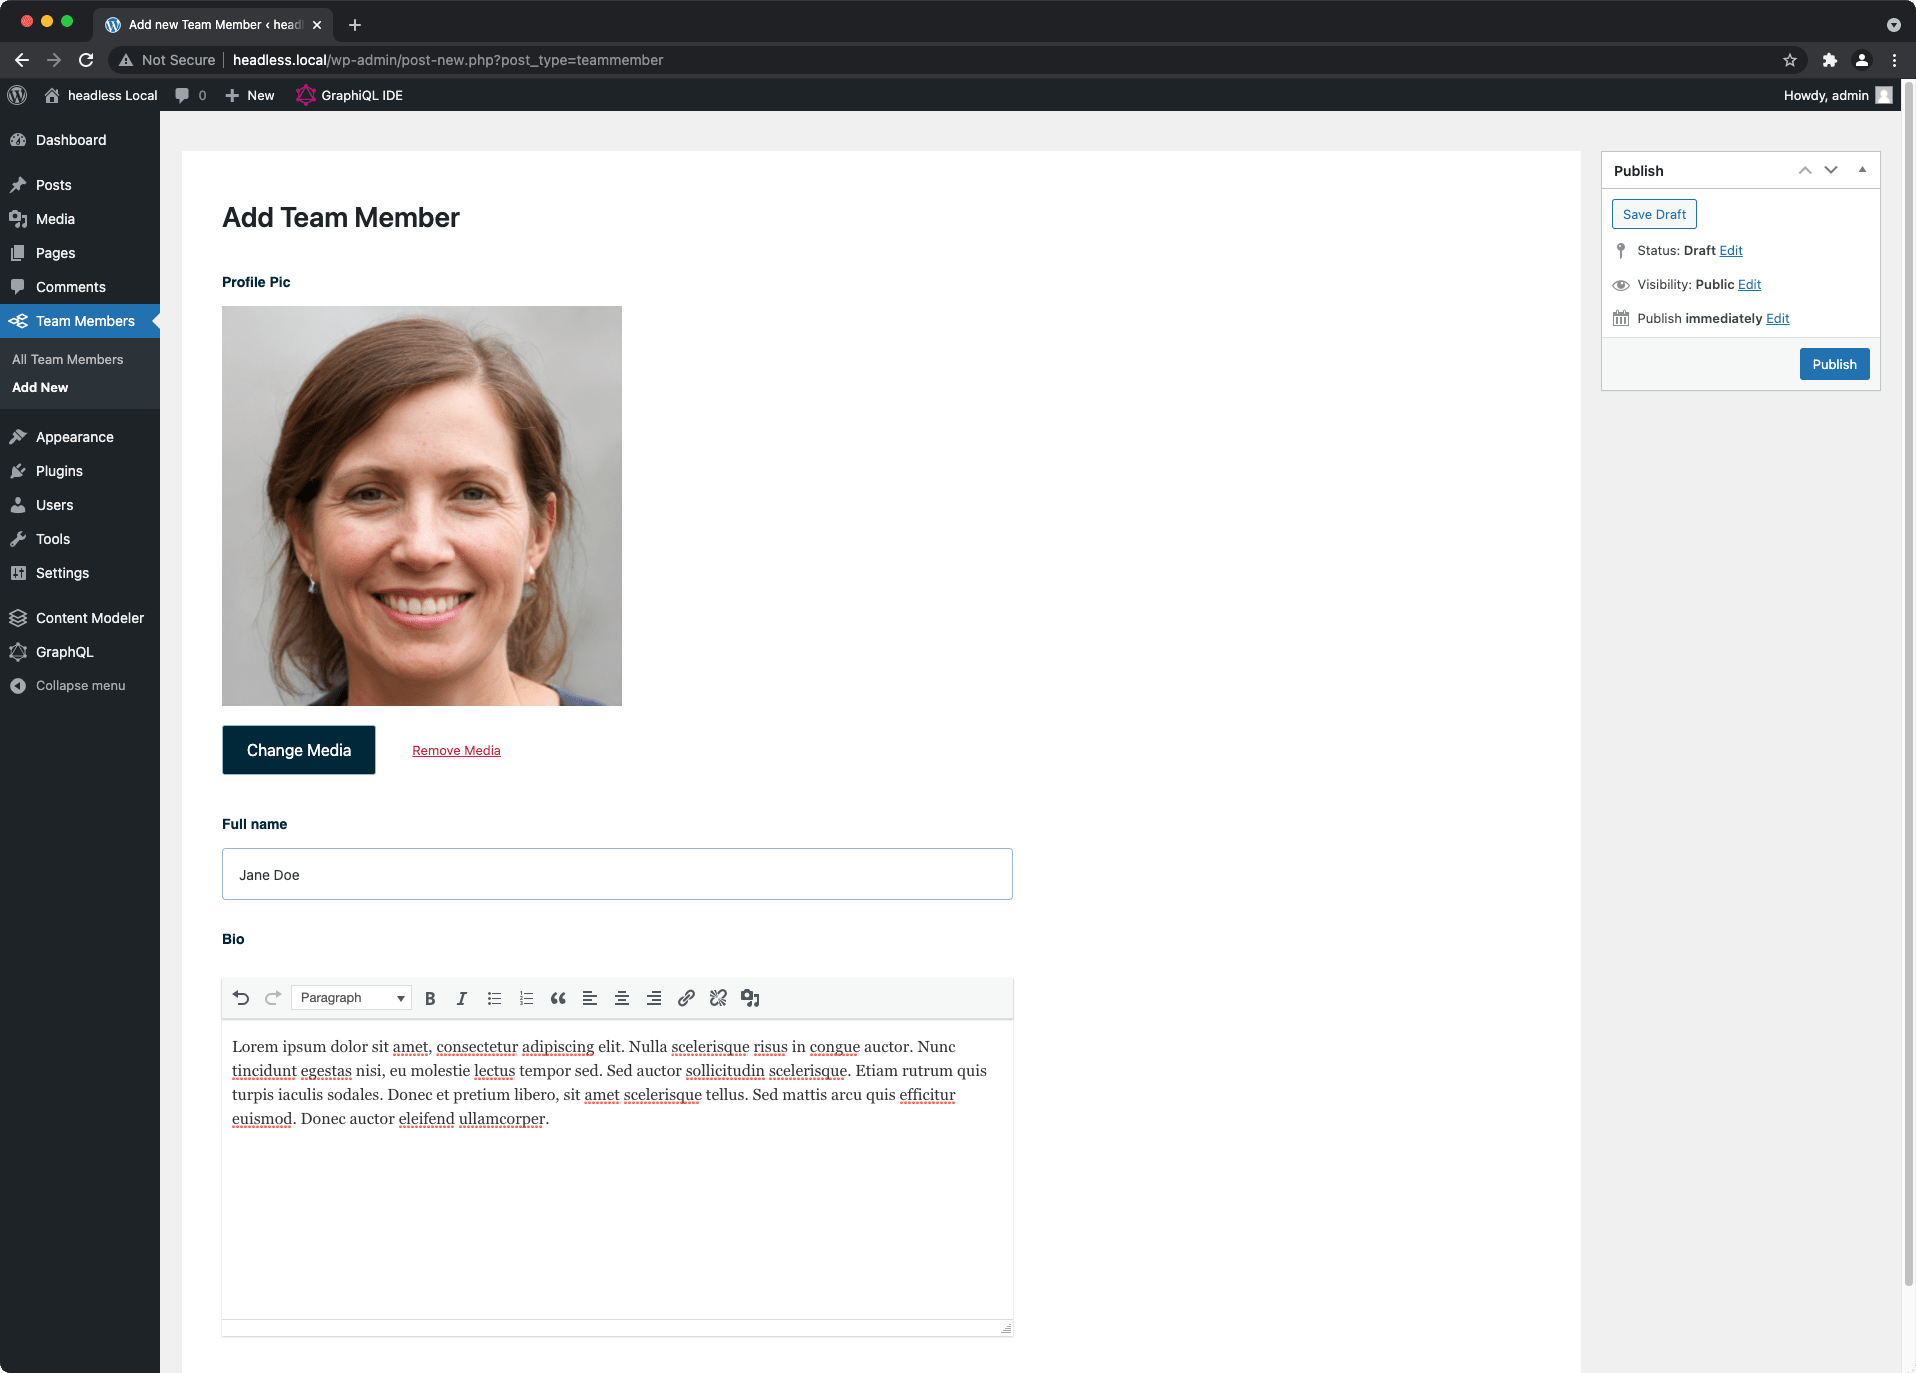
Add Some Team Members
Now that you have created a custom post type and fields, you can start entering data. Navigate to WP-Admin -> Team Members to start creating!
For this example, I've created two team members, Jane and John Doe, with bios and profile pics:
Clone the Starter Headless Project
Thus far, you have created a WordPress site with the necessary headless plugins and data. Now, we need to create a frontend app to consume this data.
We will use the getting started example project in Next.js, but the same concepts apply in other frontend frameworks.
Follow the steps in the getting started with Next.js usage guide to create a frontend app
Once your frontend app renders, the structure should look something like this:
my-app/
  src/
    client/
      ..
    pages/
      ..
    components/
      ..
    scss/
      ..
  public/
  .env.local
  .env.local.sample
  .env.test.sample
  .eslintrc
  .gitignore
  gqty.config.js
  next-env.d.ts
  package.json
  README.md
  tsconfig.json
Regenerate the GraphQL Schema
Your schema is a TypeScript representation of your WordPress site. Since we have added some custom post types and fields, we'll want to regenerate this schema to ensure it's up to date. To restore your schema from the Next.js getting started example, run:
npm run generate
Learn more about generating your client/schema here.
Troubleshooting
"GraphQL introspection is not allowed"
If you run into the error message GraphQL introspection is not allowed, but the query contained __schema or __type, you will have to enable introspection temporarily.
Introspection is disabled by default in WPGraphQL. To enable it, go to WP Admin -> GraphQL -> Enable Public Introspection.
If you are using something other than WPGraphQL you will need to refer to the documentation to enable introspection.
Once the schema file generates, you can then disable introspection again.
Run the Dev Server
Run the following command to start the dev server:
npm run dev
You should now be able to access the starter project at http://localhost:3000
Create a Team Page
We'll create a team page in src/pages/team.tsx to display the team members:
import Head from 'next/head';
import { Header, Footer } from 'components';
import { client } from 'client';

export default function Team() {
  const { generalSettings } = client.useQuery();

  return (
    <>
      <Header
        title={generalSettings.title}
        description={generalSettings.description}
      />

      <Head>
        <title>Meet the Team - {generalSettings.title}</title>
      </Head>

      <main className="content content-single">
        <div className="wrap">
          <h2>Team Members</h2>
        </div>
      </main>

      <Footer copyrightHolder={generalSettings.title} />
    </>
  );
}
This will look something like:

Query for Team Members
When querying custom post types in Faust.js, you can leverage the useQuery hook exported from the client. useQuery allows you to access all of WordPress' data. You'll also notice it's typed from your schema, making things super easy to find.
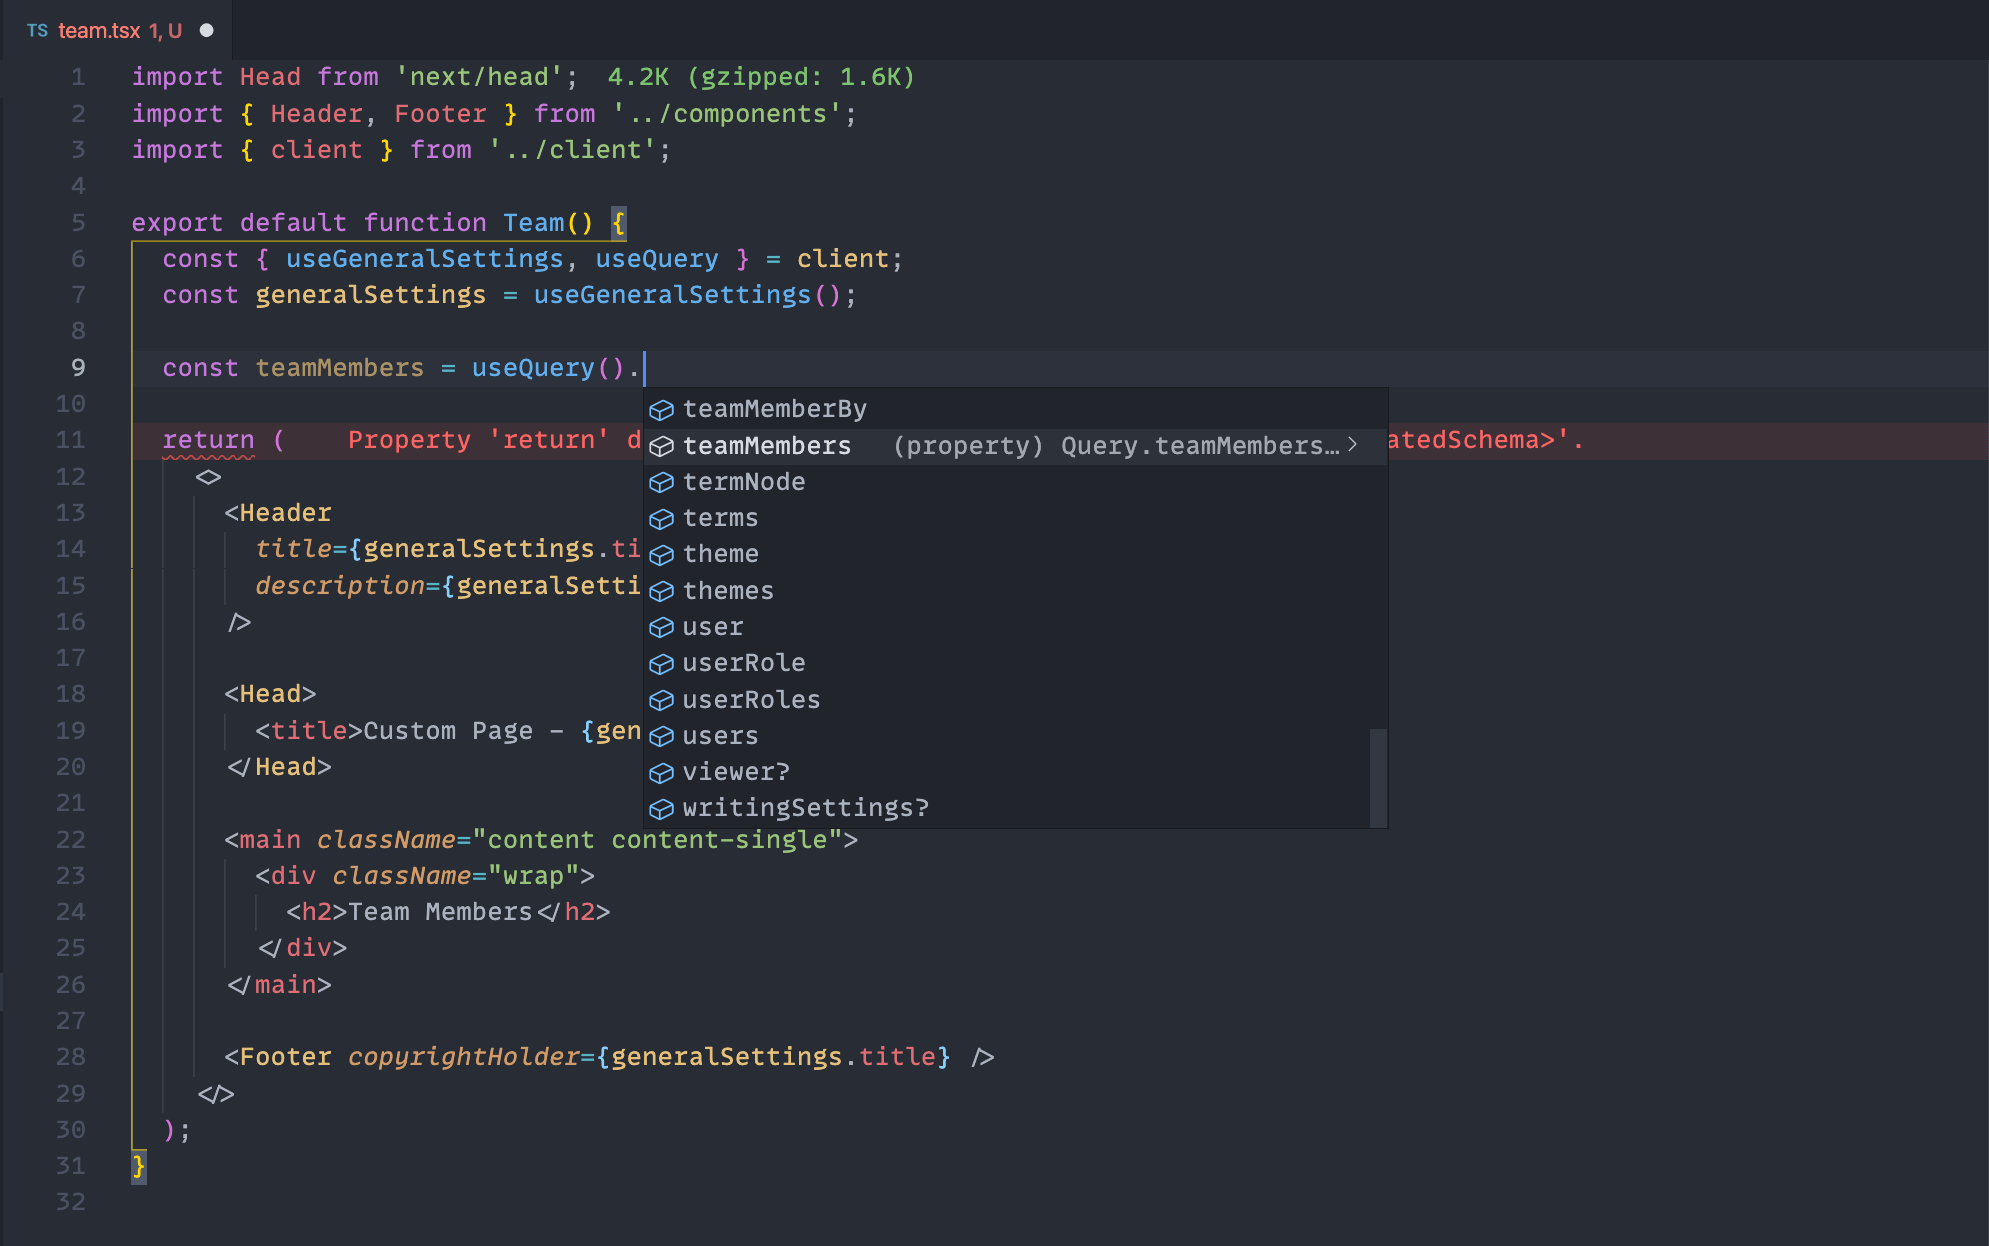
Let's get the team members using the useQuery hook:
import Head from 'next/head';
import { Header, Footer } from 'components';
import { client } from 'client';

export default function Team() {
  const { useQuery } = client;
  const { generalSettings } = useQuery();
  const teamMembers = useQuery().teamMembers()?.nodes;

  return (
    <>
      <Header
        title={generalSettings.title}
        description={generalSettings.description}
      />

      <Head>
        <title>Meet the Team - {generalSettings.title}</title>
      </Head>

      <main className="content content-single">
        <div className="wrap">
          <h2>Team Members</h2>
        </div>
      </main>

      <Footer copyrightHolder={generalSettings.title} />
    </>
  );
}
Finally, we'll create a teamMember.tsx component to display each team member:
import { TeamMember as TeamMemberType } from 'client';

interface TeamMemberProps {
  teamMember: TeamMemberType;
}

export default function TeamMember({ teamMember }: TeamMemberProps) {
  return (
    <div>
      <img
        src={teamMember?.profilePic.mediaItemUrl}
        alt={teamMember?.profilePic?.altText}
      />
      <h2>{teamMember?.fullName}</h2>
      <div
        className="bio"
        dangerouslySetInnerHTML={{ __html: teamMember?.bio }}
      />
    </div>
  );
}
Notice we are getting the TeamMember TypeScript type from the client and generated schema.
Put it all Together
Finally, let's hook up the TeamMember component to the team page.
import Head from 'next/head';
import { Header, Footer } from 'components';
import { client } from 'client';
import TeamMember from 'components/teamMember';

export default function Team() {
  const { useQuery } = client;
  const { generalSettings } = useQuery();

  const teamMembers = useQuery().teamMembers()?.nodes;

  return (
    <>
      <Header
        title={generalSettings.title}
        description={generalSettings.description}
      />

      <Head>
        <title>Meet the Team - {generalSettings.title}</title>
      </Head>

      <main className="content content-single">
        <div className="wrap">
          <h2>Team Members</h2>

          {teamMembers.map((teamMember) => (
            <TeamMember key={teamMember.id} teamMember={teamMember} />
          ))}
        </div>
      </main>

      <Footer copyrightHolder={generalSettings.title} />
    </>
  );
}
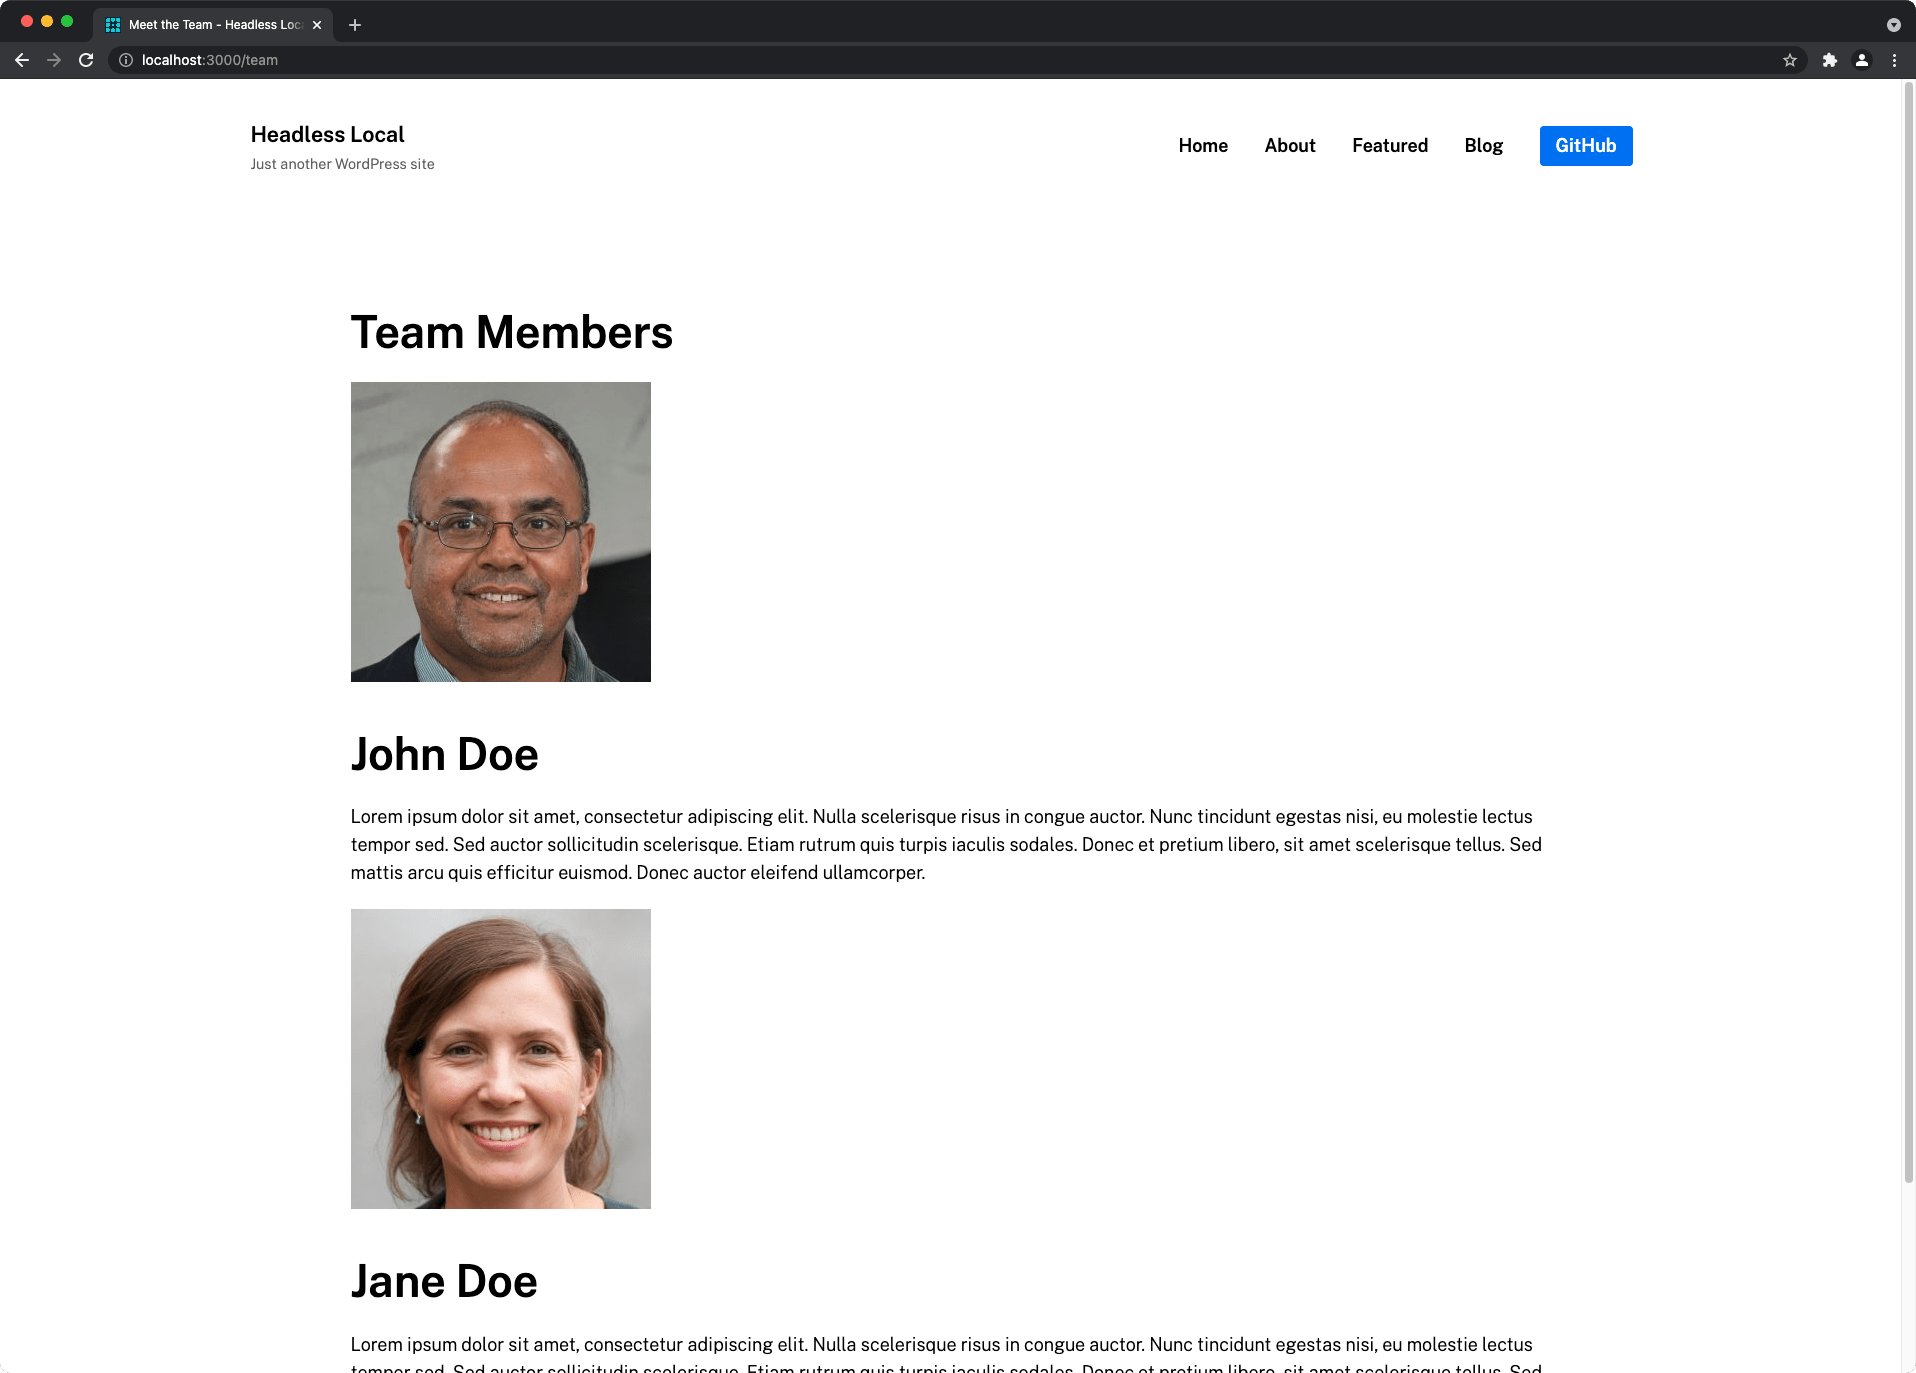
Now, head back to http://localhost:3000/team to see your WordPress data come to life!
Learnings
In this guide, we demonstrated:
- How to create custom post types/fields using Atlas Content Modeler
- Creating data for your custom post types
- Creating a starter frontend project to consume your WordPress data
- Using the
useQuerycustom React hook in the framework to query your custom post type data in GraphQL